3D PRINTING TUTORIAL
Following our article The advantages of a 3D printer, you know more about the benefits of 3D printing, now you want to understand how EVA is used in 3D printing?
Namma takes you step by step through the following process:
1. Model preparation/Slicing
First you need to prepare your model for 3D printing. This will enable you to modify and visualize your part, as well as generate the .gcode file that EVA will execute.
To do this, you need to use CAM/slicing software (Computer-Aided Manufacturing). You can then import an STL file from the previously designed model.
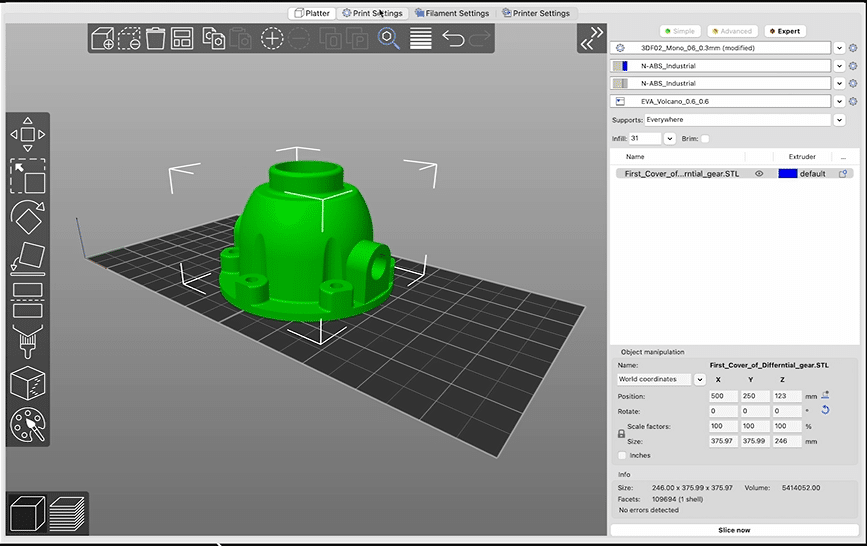
- Place the part on the platen in a way optimized for printing, so as to limit overhangs. Pay particular attention to the orientation of the mechanical stresses to which the part will be subjected in its final use.
- Then select the various parameters: materials, nozzle diameter, layer heights, printing speed, presence of supports…
- Then start slicing the part, and visualize the manufacture of your part layer by layer.

Once your model is ready, you need to export it as a .gcode file, which will be the file executed by the machine.
2. Preparing the machine
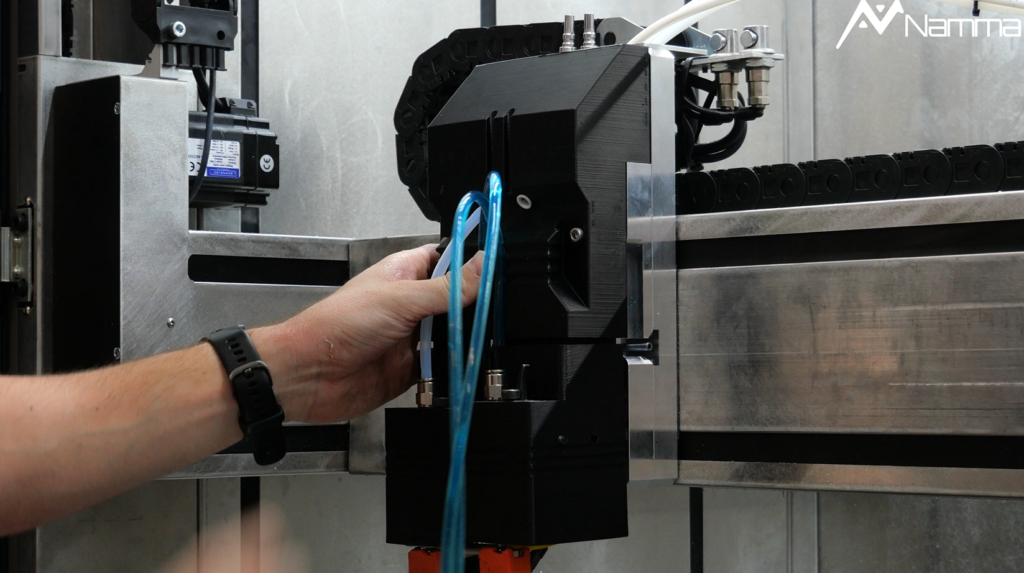
- To start with, install the tool head you want to work with. In 3D printing, you can choose between the 3DF02 (for conventional 3D printing) and the 3DF09 (for high-speed 3D extrusion printing). Simply install it on the tool board.
- Then connect the two liquid cooling connectors to the brackets provided.
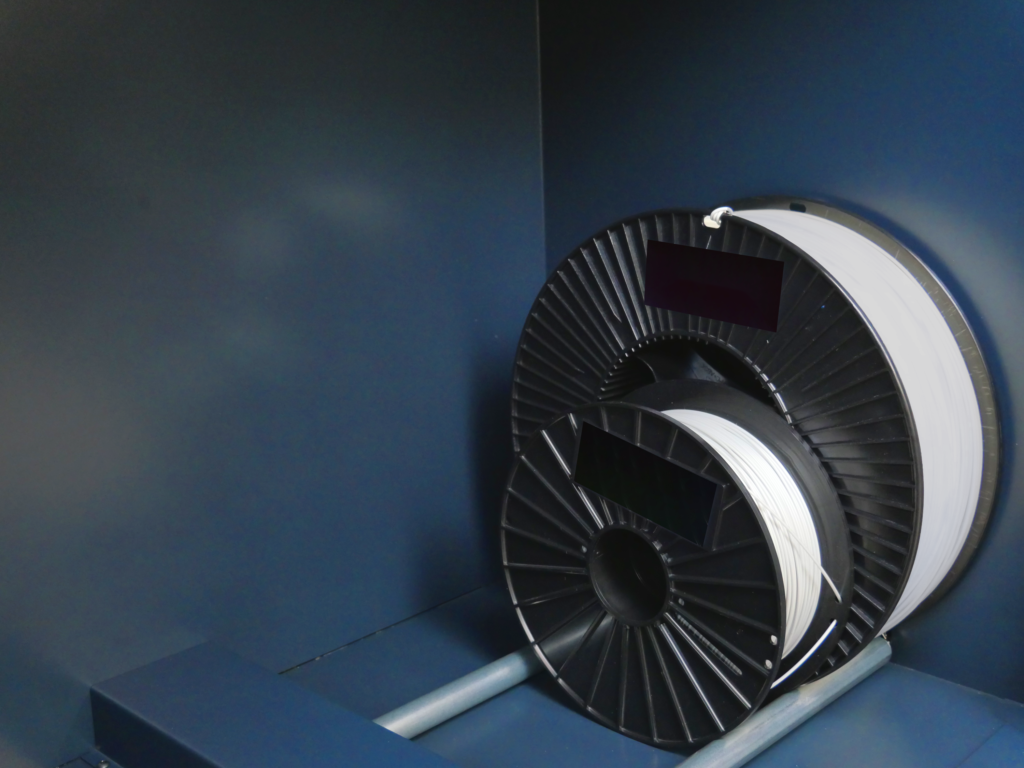
Then, using the N-play control software, automatically perform home-machine operations to initialize the machine.
- Positionnez maintenant la bobine de filament dans le compartiment de la machine. Introduisez le fil de la bobine à l’intérieur du feeder puis sélectionnez sur N-Play le matériaux.
- Attendez ensuite que le filament soit extrudé de la tête.
Close the machine doors and press the “Rearm” button on the control panel.
3. Launching 3D printing
From N-Play, navigate to the file explorer and choose the .gcode associated with the desired part. The 3D rendering appears, allowing you to check your part.
The part starts to be manufactured. At the end of the manufacturing process, remove the part with a spatula.
For a more complete overview, we invite you to view the 3D printing tutorial video available directly below.