LASER TUTORIAL
After a tutorial on EVA machines for CNC machining, Namma completes its collection with this brand-new tutorial on the UV laser process.
Follow the laser process step by step and learn more about the use of EVA machines.
1. Model preparation
The first step is to generate the manufacturing program. This file will describe precisely the movements the machine tool must execute to produce the required part.
To do this, you need to use CAM (Computer-Aided Manufacturing) software. Import an SVG or DXF file from a CAD model (such as CATIA, SolidWorks, CREO etc.) or directly from an image (such as .png, .jpeg, etc.) to be converted to SVG or DXF format.
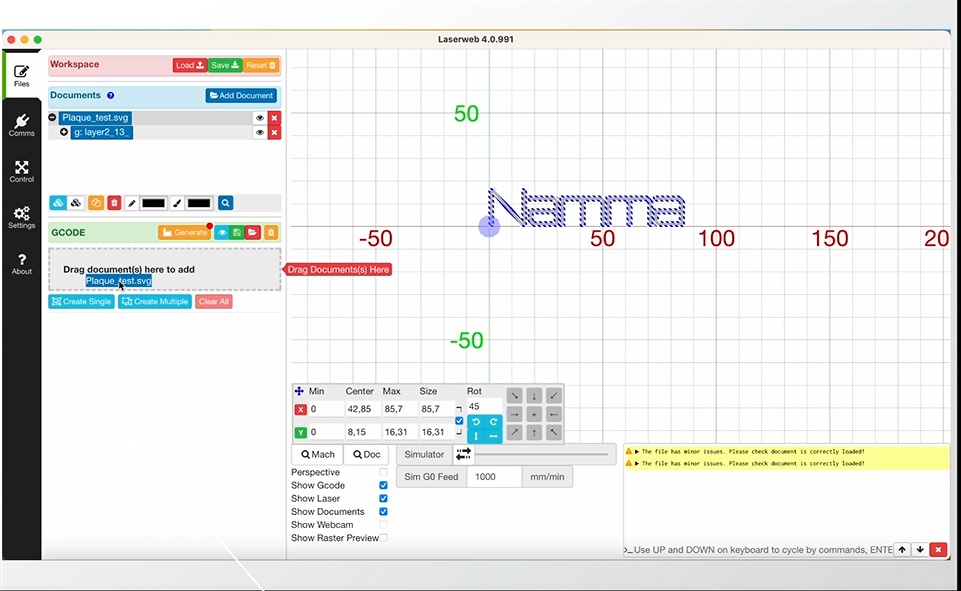
- Once the file has been imported, you need to place it according to the desired point of origin.
- Then create the various marking operations. Use the pre-filled engraving profiles according to the materials and stock used.
- Finally, you can generate the code. Then perform trajectory checks before exporting the code.
2. Machine preparation
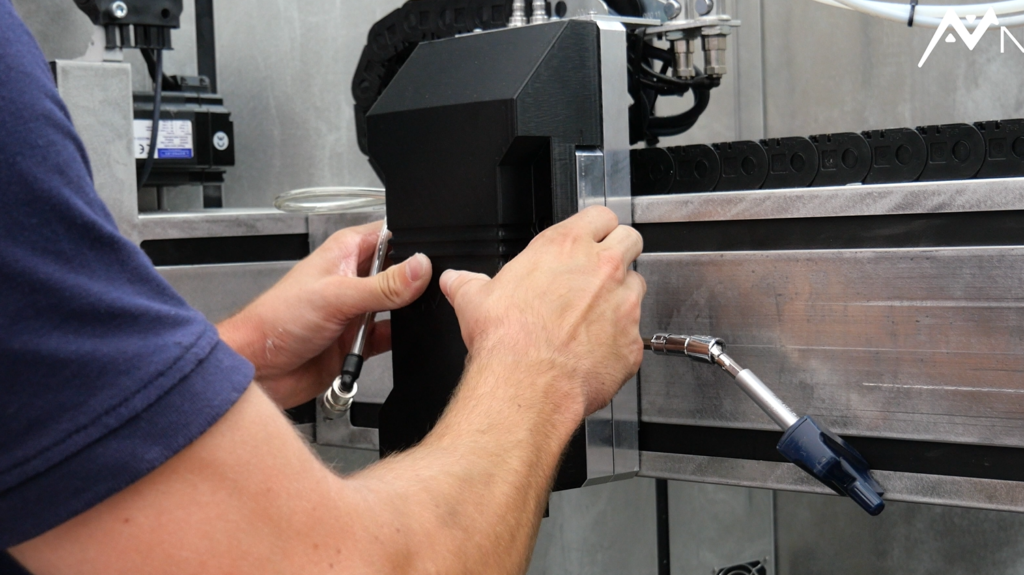
- Start by installing the UV laser tool head, LUV06, and positioning it on the tool platen. Then screw the tool-head to the platen.
- Using the N-Play control software, initialize the EVA machine.
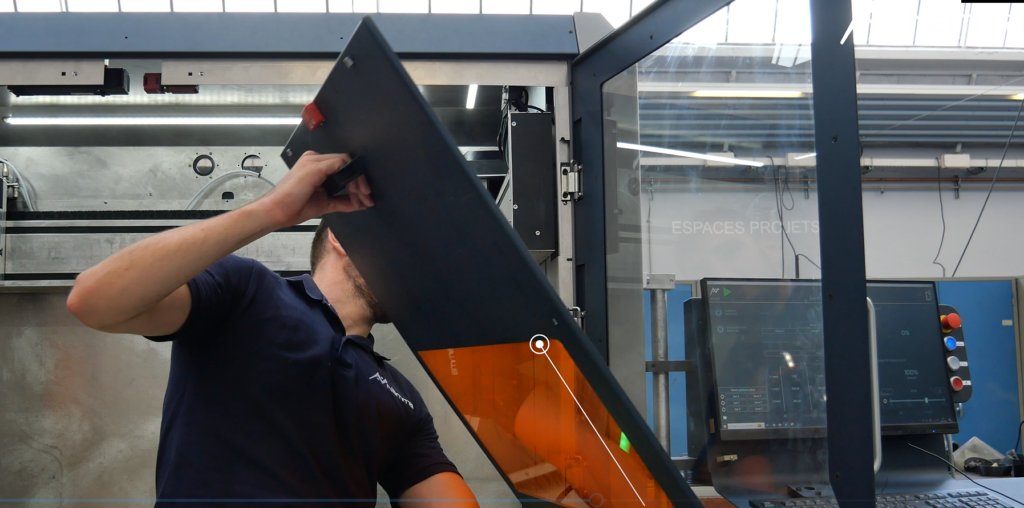
- Then place the laser protectors inside the EVA machine doors. They are magnetized for quick and easy installation.
3. Positioning
You will now position your blank to be engraved inside the machine.
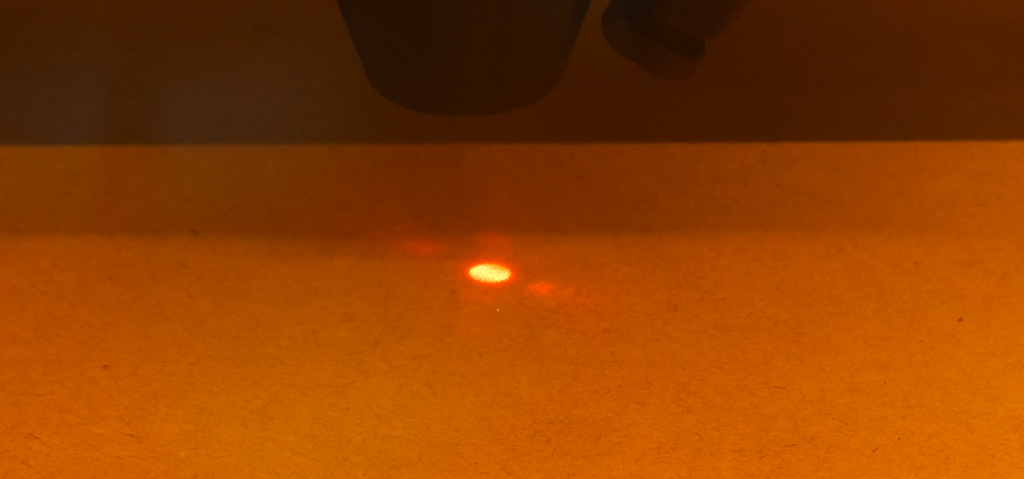
- With the N-Play software, set the program origins at a height of Z, defined according to the laser specifications (provided in the technical documentation) and using the laser pointer.
4. Production launch
From N-Play, navigate to the file explorer and execute the .gcode associated with the desired production. You’re ready to start production.
During the engraving process, the laser power adapts to the defined program.
For a more complete overview, we invite you to view the laser tutorial video available directly below.
