3D printers: what is the hybrid process ?
What is a hybrid process?
Unlike the traditional approach, which consists of using a single manufacturing technology exclusively, the advantage of combining various technologies lies in the possibility of exploiting the specific advantages of each, whether in terms of technology, implementation costs, etc., while bypassing the constraints specific to each method.
This hybridisation of processes makes it possible to produce complex and original parts. This approach offers economic advantages by effectively reducing manufacturing costs and lead times.
–
Today we’re going to take a look at how multi-process 3D printers work. In this particular case, we’re going to illustrate this article with the use of EVA multi-process 3D printers, with 4 processes: 3D printing, machining, laser and hybrid.
We have previously described the 3D printing, machining and laser processes individually, and today we are presenting the hybrid process, combining the 3 processes in succession on the same part.This method is only valid for the EVA multi-process machine. The LUCY hybrid 3D printer, designed specifically for this process, is available for automatic and more fluid use of the hybrid process.
1. Preparing the model
To prepare your production, you will need 3 different files: one for each process. These files contain the different stages in the manufacture of the part.
This will enable you to visualise the part and configure the different processes that will be carried out by the machine.
3D Printing
Open your CAM software, such as SuperSlicer, and import your previously designed .STL or .STEP file, which contains the digital model of the part to be manufactured.
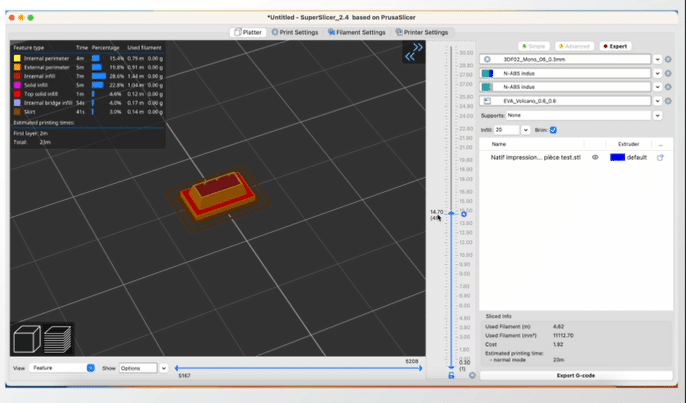
- Place the part on the platen, avoiding overhanging areas and making the surface to be machined and engraved accessible.
- Set the parameters: materials, nozzle diameter, layer heights, print speed, presence of supports, etc.
- You can then start slicing your part, to get a layer-by-layer visual of your production.
- Generate the .gcode file that the machine will use to manufacture the part.
Machining
Once you have finished visualising the 3D printed part, you can start setting up the machining parameters.
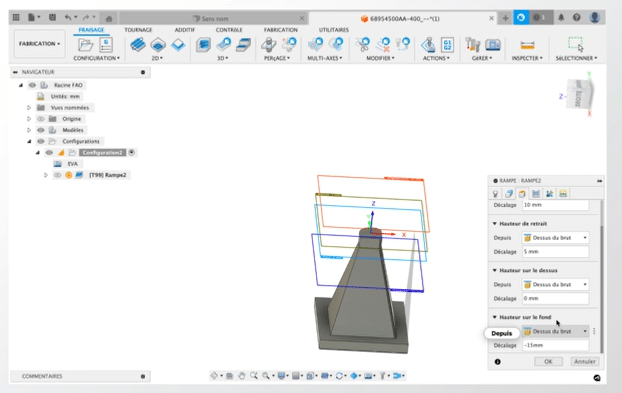
- Import your file into the appropriate CAM software, such as Fusion 360.
- Define the origins of the programme.
- Then configure the various manufacturing operations: facing, contouring, drilling, etc. You must also choose the appropriate cutting tools and define their paths (approach and clearance).
- Simulate the operations to ensure that the manufacturing process runs smoothly.
- Then generate the .gcode file.
Laser
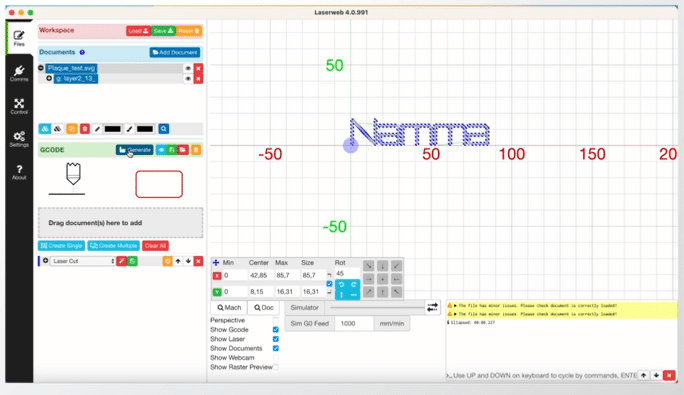
- Then move on to the laser part, positioning the origin point to be engraved on the part.
- Configurez les opérations de marquage, en fonction des matériaux et des bruts que vous utilisez.
- Finissez en générant le fichier .gcode.
2. Multi-process launch
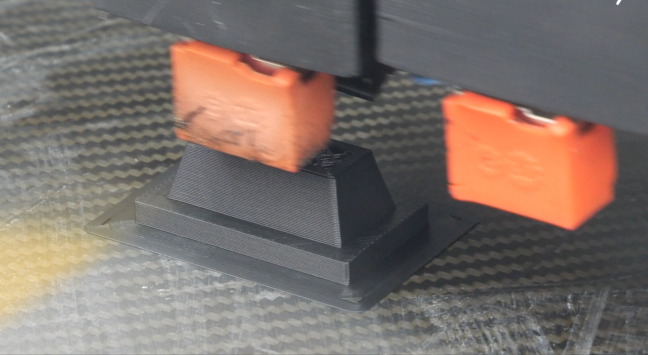
3D Printing
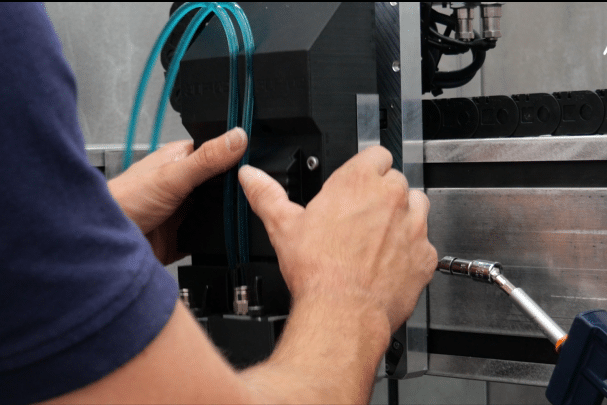
To start 3D printing, begin by installing the appropriate tool head (3DF02 or 3DF09 for filaments and 3DP08 or 3DP25 for pellets). Position it and screw it to the board using the special key, then connect the two cooling connectors.
- Use the control software, N-Play for EVA machines, to initialise the machine.
- If you have chosen to manufacture with filament materials, place the spool of filament in the compartment and insert the thread into the feeder.
- If you have chosen to use pellets, place the pellets in the special tray fitted with a Venturi system.
- Then run the .gcode file corresponding to the 3D print directly on the control software. The part will be manufactured.
- Once 3D printing is complete, maintain the temperature of the heating plate to continue manufacturing.
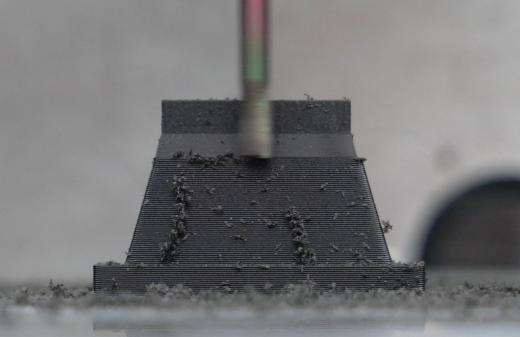
Machining
Now you can move straight on to the machining stage, without even removing your part.
- You can now change the tool head. Select the “Change tool” button on the software screen.
- In the machine, remove the 3D printing tool head and install the one suitable for machining (CNC11 or CNC22).
- Take the origins of the part with the cutting tool used.
- Run the machining .gcode file on the software. Machining of the part begins.
- Now the heating plate again.
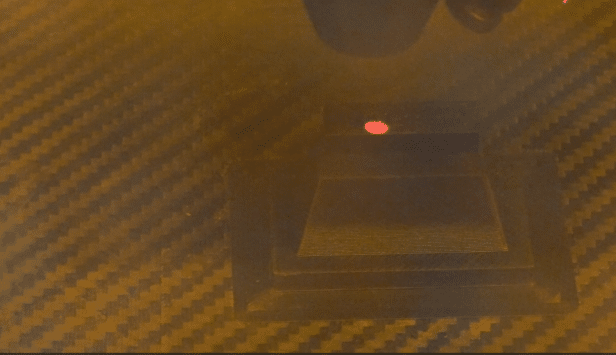
Laser
You can now start laser engraving, again without removing your workpiece.
- To change the tool head again, select the “Change tool” button on the software, then remove and reinstall the appropriate tool head (LUV06).
- Place the magnetic laser protectors inside the machine doors.
- Launch the .gcode file corresponding to the laser engraving.
- Engraving of the part begins.
Once finished, you can remove your part and switch off the heating plate.
Your part is then finished, combining 3 manufacturing processes on a single machine: it’s a hybrid part.
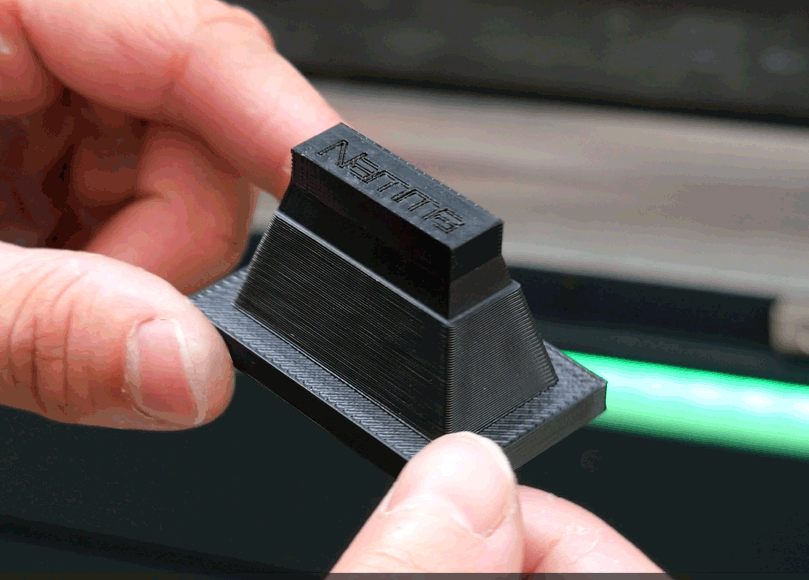
The hybrid functionality of the multi-process printer allows you to combine several manufacturing methods, usually divided, in a single machine, thanks in particular to the different tool heads. Combine the advantages of each process: the simplicity of 3D printing, the precision of machining and the traceability of laser engraving.
This manufacturing method gives you hybrid parts without even removing the part from its base. As well as achieving greater part precision, the versatility of the multi-process machine means you can optimise your production times without changing machines.
For a more complete overview, we invite you to watch the tutorial video available directly below.