Hybrid mold
How to inject parts with a hybrid mold?
Discover the benefits of combining additive and subtractive manufacturing on making a precise mold at low cost.
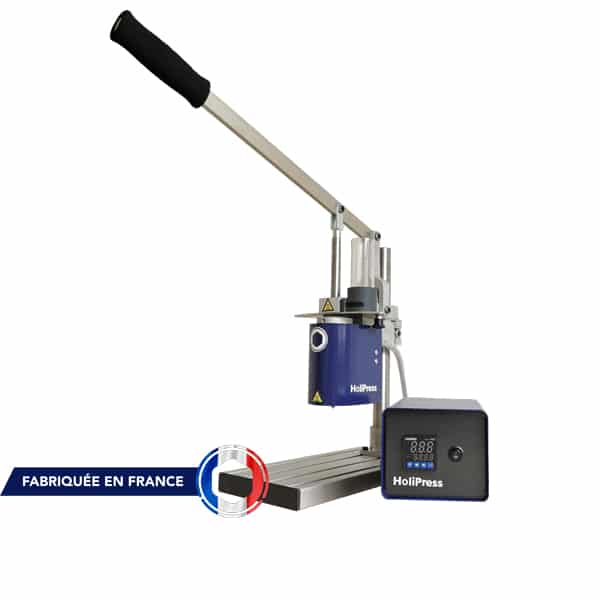
We are pleased to present our new partnership with Holimaker, manufacturer of manual injection molding machines. Like us, it is a French company and they propose a complementary product to our EVA machine: HoliPress.
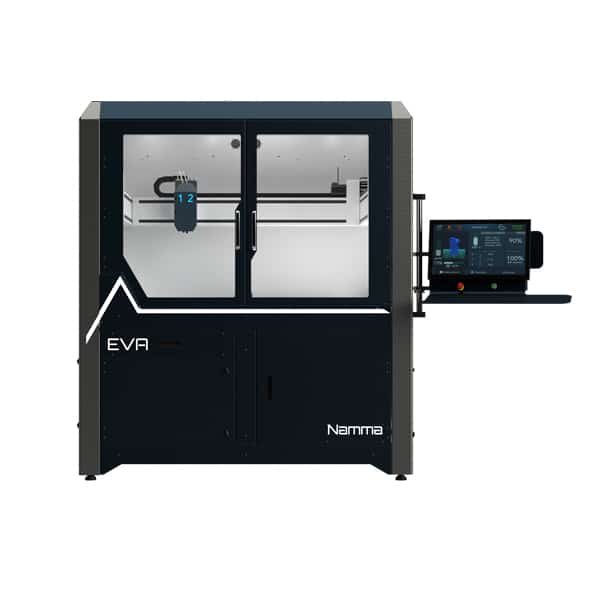
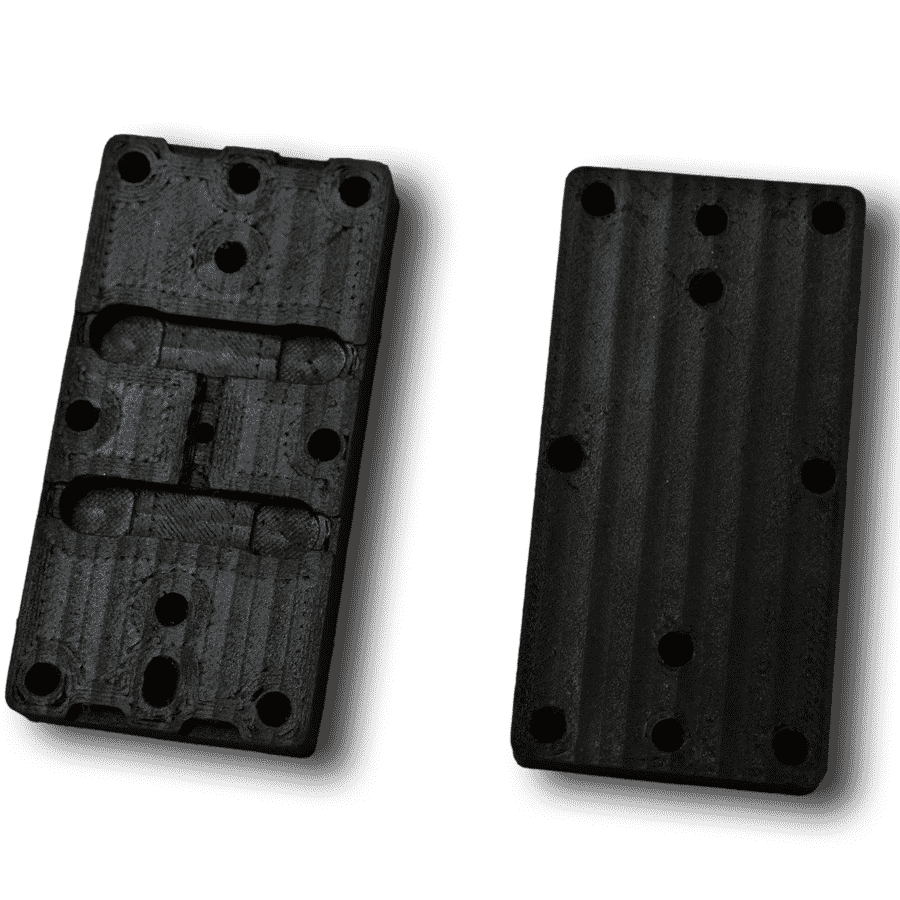
Indeed, EVA manufactures the mold to inject the final part in the HoliPress. This application case highlights new manufacturing possibilities thanks to the combination of processes on the same part: the manufacturing of a mold.
Discover step by step how a final part is made from a mold made with EVA and HoliPress.
The objective is to realize a mold for the HOLIMAKER press with a quality / price ratio defying any competition. Indeed, it is going to be a question of carrying out 2 operations with EVA: initially a blank of the mould in 3D printing (by deposit of wire), then a stage of completion on the blank of the mould by machining (always with EVA) its functional surfaces in order to obtain smooth surface states and precise dimensional tolerances.
Tool heads
Tool head 3DF02
Tool head CNC22
Software

N-Play
EVA control software
Fusion 360
CAD/CAM software
Materials
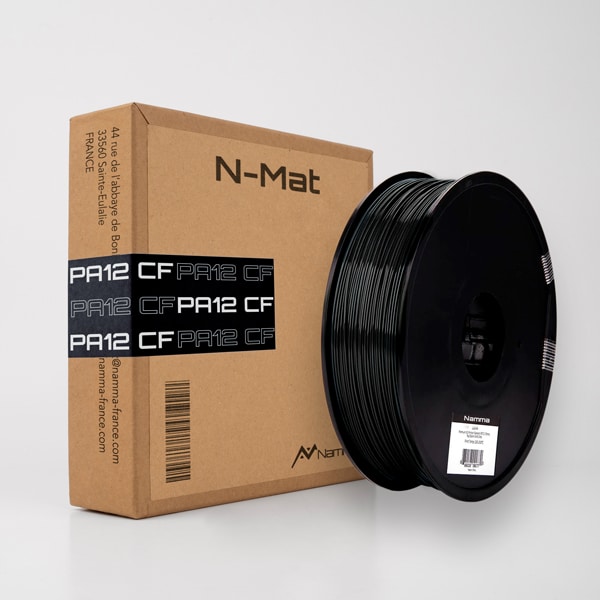
PA12-CF from Namma for 3D printing
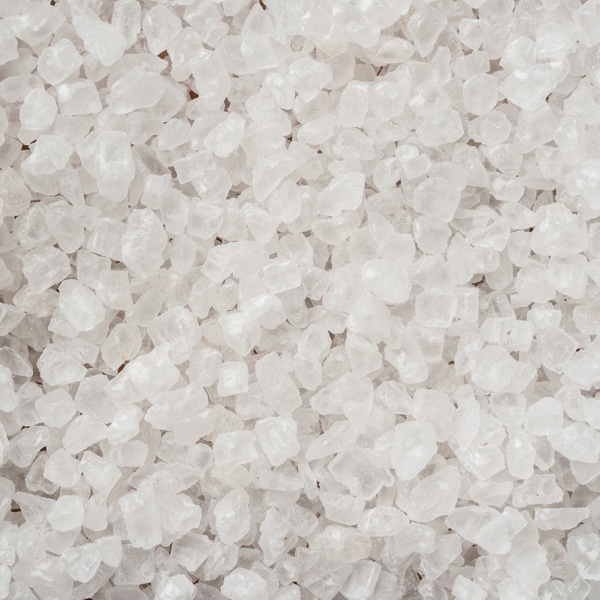
PP pellets for injection
Step 1: The CAM
To begin, proceed with the preparation of the manufacturing of your part thanks to a CAM software (computer assisted manufacturing).
This step will consist in preparing the 2 operations: 3D printing and machining.
For our part, we used the Fusion360 software.
Concerning the manufacturing parameters, we have opted for :
– a 50% filling
– a layer height of 0.3mm
– an extra thickness of 0.4mm
Réalisez d’abord le slicing (découpage) de la pièce à imprimer en 3D puis préparez le programme de fabrication pour la partie usinage en choisissant par exemple vos outils coupants, vos trajectoires et vos stratégies d’usinage…
Enfin, enregistrez-le au format .gcode.
Step 2: 3D Printing
Quick mold drafting
Use NAMMA’s N-play graphical interface to control EVA.
Indeed, this control software has been designed for easy access to the EVA “3D Printing” manufacturing processes.
First of all you just have to install the 3DF02 tool head, N-Play will recognize directly the associated process.
Once this step is done, insert the PA12-CF filament spool.
Then choose the file you prepared in step 1.
View the 3D rendering of the part to check that it is the right file.
You can now start 3D printing the mold on EVA.
Step 3: Machining
Mould finishing
Once the roughing is completed (3D printing), change the process by installing the CNC22 head for the finishing step.
Insert the cone and the chosen cutting tool (Ø 5mm toric end mills).
Leave the part glued to the table.
Select and start the machining program created in step 1.
Step 4: Injection
Production of the final part
Injection is now possible with the HOLIMAKER HoliPress manual injection molding machine.
Heat the press to 200 °C and add the PP granules to the reservoir.
Insert the mold made in step 3 into the press and place it in the stop.
Inject the material (here PP) directly into the mold.
Hold the press down for a few moments to avoid shrinkage due to the cooling of the material, then release.
Open the mold and retrieve your final piece.
The benefits

A precise andlow cost mold
Get an industry-standard mold with smooth surfaces and accurate dimensional
smooth surfaces and precise dimensional tolerances, at a lower cost.

Produce insmall series
This complementarity makes it possible to respond to R&D problems where it is usually almost impossible to make molds because of the complexity and high cost of manufacturing the mold.

A 100% madein france solution
The EVA hybrid 3D printer and the Holipress injection molding machine are French products.
